
You can change the view in Blender without numpad by using keyboard shortcuts, mouse navigation, on-screen tools, custom keymaps, and view menus built directly into Blender. Many laptops, compact keyboards, and tablet-based setups lack a dedicated numpad, yet Blender fully supports navigation without it. Blender’s viewport system is flexible by design, allowing efficient 3D navigation on almost any hardware.
This guide explains the best ways to change the view in Blender without numpad, focusing on practical workflows used by professionals.
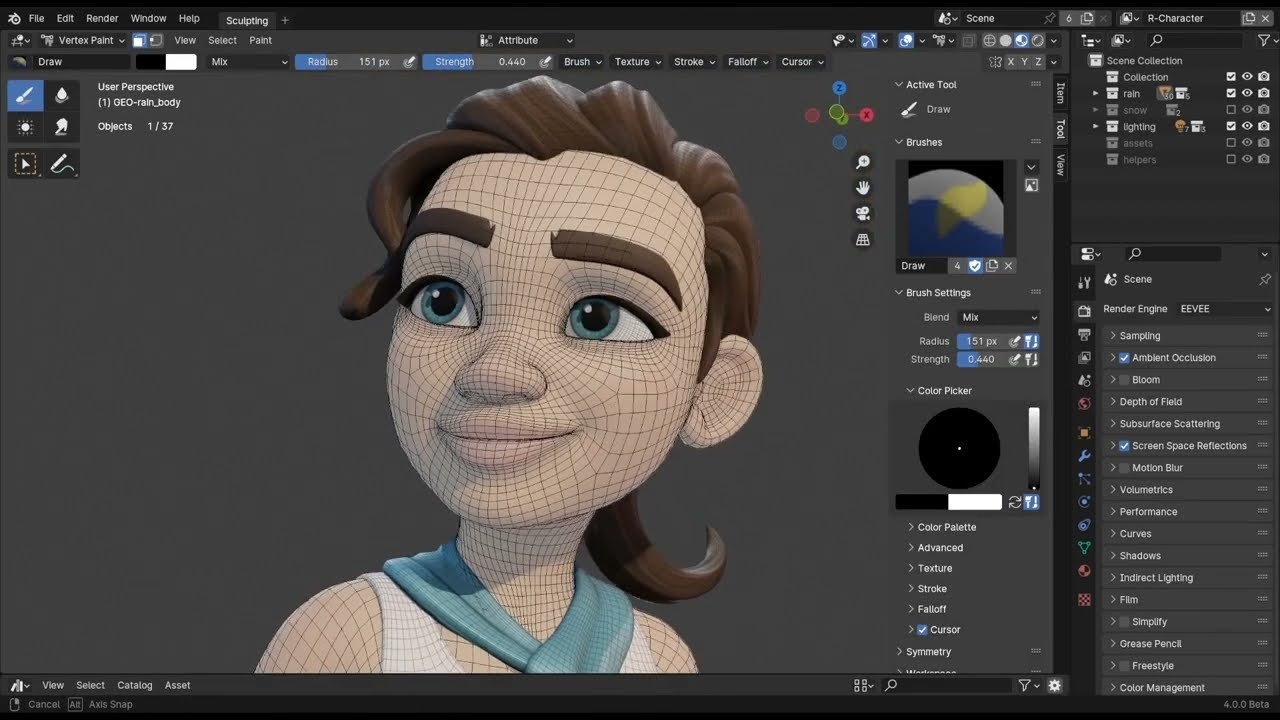
Table of Contents
Why Blender Uses the Numpad for View Controls
Blender traditionally assigns viewport views – front, side, top, and camera to the numpad. This design originated from desktop keyboards commonly used in professional 3D workstations. However, Blender does not require a numpad to function properly.
Blender includes multiple alternative navigation systems so users on laptops, compact keyboards, drawing tablets, or external input devices can work efficiently without changing hardware.
Best Ways To Change The View In Blender Without Numpad
1. Use the View Menu in the 3D Viewport
The simplest way to change views without a numpad is through Blender’s built-in View menu. This method works consistently across all platforms and input setups.
At the top-left of the 3D Viewport, open View → Viewpoint. From there, you can switch to Front, Back, Right, Left, Top, Bottom, or Camera view instantly. This approach is slower than shortcuts but extremely reliable for beginners and laptop users.
The View menu is especially useful when learning Blender or when working on devices with limited keyboard access.
2. Use Mouse and Trackpad Navigation
Blender’s mouse-based navigation replaces most numpad functions once mastered. View rotation, panning, and zooming allow full control of the 3D scene without fixed camera angles.
Default mouse controls include:
- Middle Mouse Button (MMB) drag to rotate the view
- Shift + MMB drag to pan the view
- Scroll wheel to zoom in and out
This method provides fluid, free-form navigation and is the most commonly used approach among experienced Blender users. While it does not snap directly to orthographic views, it allows precise positioning with minimal interruption.
3. Enable and Use the Navigation Gizmo
Blender includes an on-screen Navigation Gizmo in the top-right corner of the 3D Viewport. This visual control allows view changes without using the keyboard at all.

The gizmo provides:
- Clickable axis buttons for Front, Side, and Top views
- Smooth rotation by dragging the sphere
- Quick orientation awareness
This tool is ideal for touchscreen devices, pen displays, and tablet setups where keyboard shortcuts are inconvenient. It offers direct visual control and is often preferred by artists transitioning from CAD or sculpting software.
4. Use the Tilde (View Pie) Menu
The View Pie Menu is one of the fastest ways to change views without a numpad. Pressing the tilde (~) key opens a circular menu centered on the cursor.
From this menu, you can:
- Switch to Front, Side, Top, or Camera view
- Toggle perspective and orthographic view
- Frame selected objects
- Access navigation tools
The pie menu minimizes cursor travel and works well on compact keyboards. Many professionals rely on it as their primary navigation method.
5. Use Keyboard Shortcuts Without the Numpad
Blender provides alternative shortcuts that do not require a numpad. These shortcuts are especially useful for laptop users.
Common non-numpad shortcuts include:
- Ctrl + Alt + Q to toggle quad view
- Ctrl + Space to maximize the viewport
- Numpad-style views via custom keymapping
- Period (.) to frame selected objects
- Home to frame all objects
While these shortcuts do not directly replicate numpad numbers, they provide equivalent navigation control when combined with mouse movement.
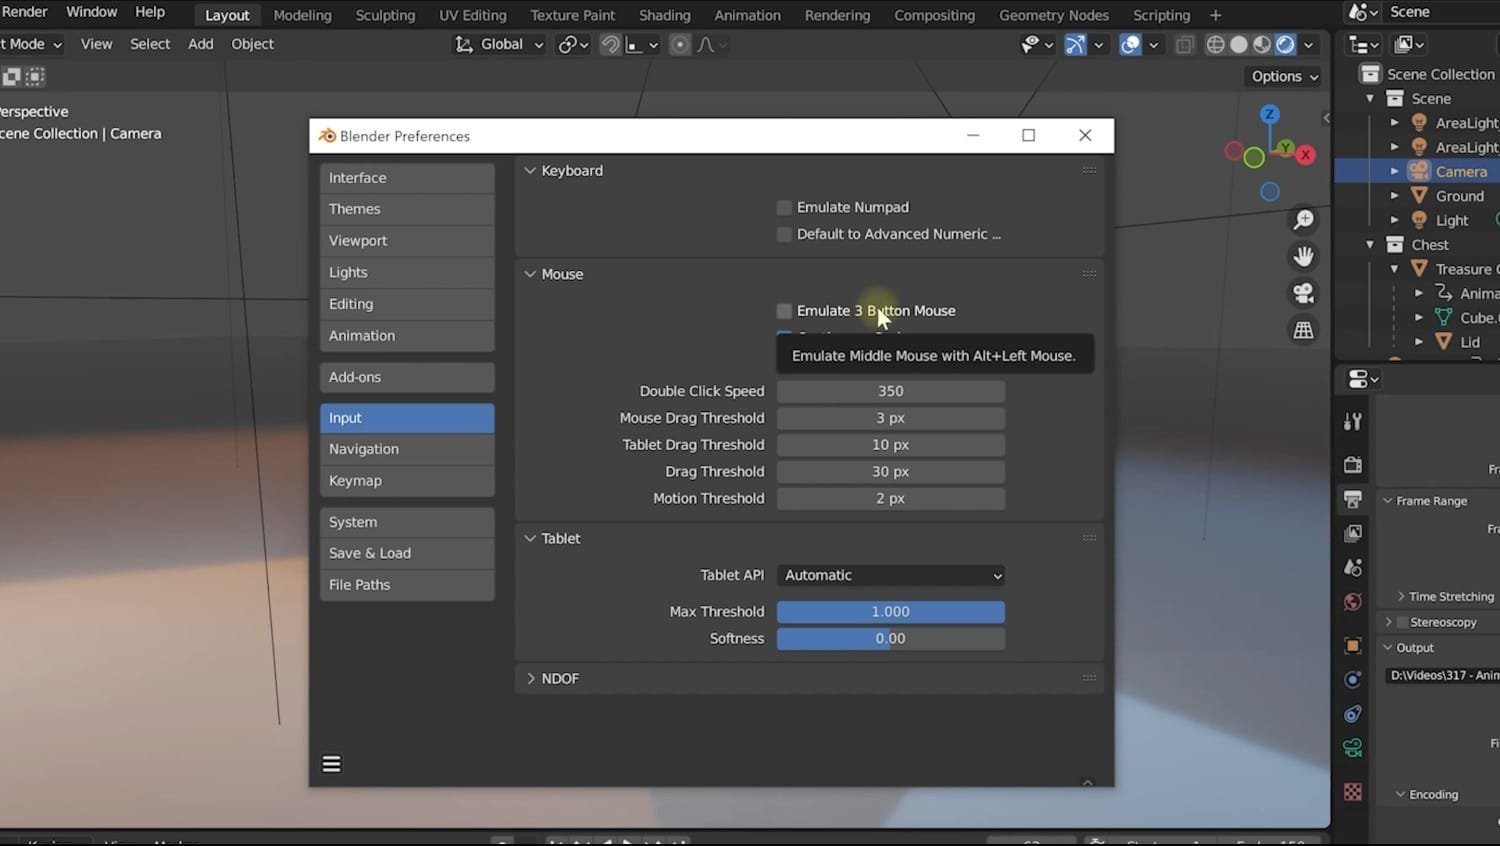
6. Enable Emulate Numpad in Blender Settings
Blender includes a built-in option called Emulate Numpad, which allows the number row at the top of the keyboard to act like a numpad.
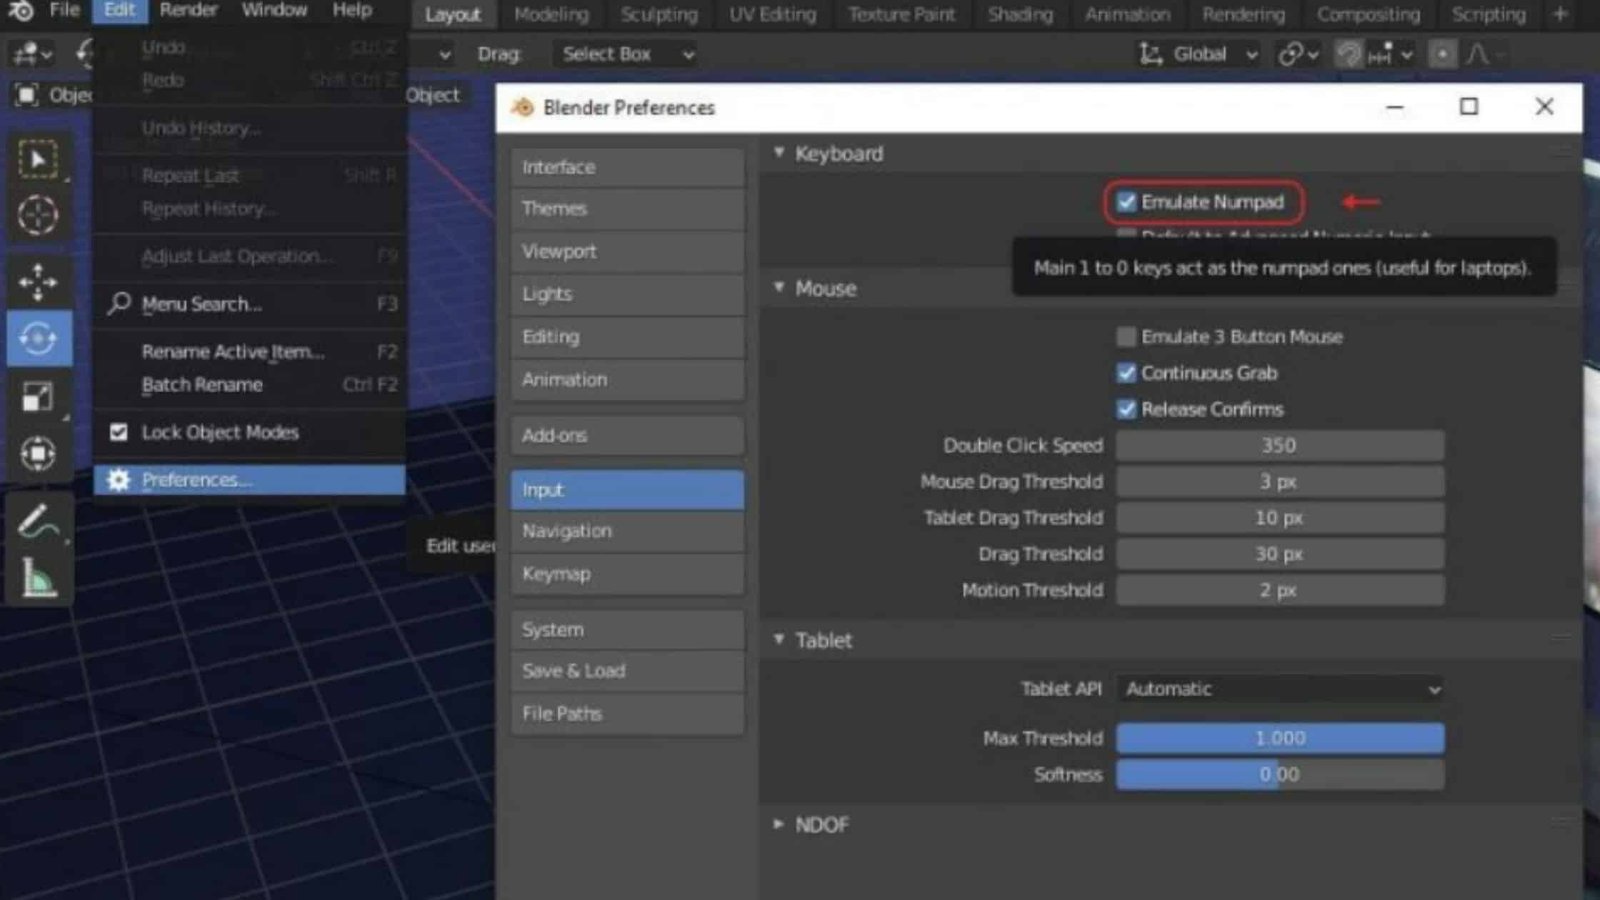
To enable it:
- Open Edit → Preferences
- Go to Input
- Enable Emulate Numpad
Once enabled, the number keys above the letters control views:
- One for Front view
- Three for Right view
- Seven for Top view
- Zero for Camera view
This is one of the best solutions for laptop users because it preserves Blender’s original navigation logic without requiring extra hardware.
7. Customize Your Own View Shortcuts
Blender allows complete customization of keyboard shortcuts. Users can assign view controls to keys that feel natural for their workflow.
Custom keymapping is useful when:
- Using compact or non-standard keyboards
- Working on tablets or pen displays
- Transitioning from other 3D software
- Reducing hand movement during modeling
You can assign Front, Side, and Top views to any unused keys or combinations. This flexibility ensures Blender adapts to your setup rather than forcing you to change hardware.
8. Use the Viewport Camera Controls
Switching to camera view does not require a numpad. You can use:
- View → Cameras → Active Camera
- The View Pie Menu
- Custom shortcuts
Once in camera view, enabling Lock Camera to View allows you to move the camera like a viewport, making composition adjustments easier without numeric input.
Change Perspective and Orthographic View Without a Numpad
Blender’s perspective toggle does not rely on the numpad. You can switch between Perspective and Orthographic views using the View menu or the View Pie Menu.
This is important for modeling accuracy, as orthographic views remove perspective distortion. Being able to toggle this without a numpad ensures precision work remains accessible on all devices.
Use Blender on Tablets and Pen Displays
Tablet and pen-display users often rely entirely on:
- Navigation Gizmo
- View Pie Menu
- Touch gestures
- Custom shortcut buttons
Blender supports pen-based navigation smoothly, especially when paired with programmable tablet buttons. Many sculptors and artists work without a keyboard numpad at all.
Which Method Is Best for You?
The best way to change views in Blender without a numpad depends on your setup:
- Laptop users benefit most from Emulate Numpad
- Mouse users rely on MMB navigation
- Tablet users prefer the Navigation Gizmo and Pie Menu
- Advanced users often combine custom shortcuts and mouse controls
Most professionals use a hybrid approach rather than a single method.
Frequently Asked Questions
Can Blender be used efficiently without a numpad?
Yes. Blender fully supports non-numpad workflows.
Is Emulate Numpad good for laptops?
Yes. It is one of the most effective solutions for laptop users.
Do professionals use the numpad?
Some do, but many rely on mouse navigation and pie menus instead.
Can I customize all view controls?
Yes. Blender allows full keymap customization.
Conclusion
The best ways to change the view in Blender without numpad include using mouse navigation, the View menu, the Navigation Gizmo, the View Pie Menu, Emulate Numpad, and custom keyboard shortcuts. Blender is designed to adapt to different hardware setups, making numpad-free workflows fully supported and efficient.
Whether you use a laptop, compact keyboard, tablet, or pen display, Blender provides multiple reliable ways to control the viewport without sacrificing speed or precision. Mastering these methods improves navigation, reduces workflow friction, and makes Blender more accessible across all devices.
Other than Blender Software, you can also check out some other drawing and art apps available for professional drawing and animations.

Ben Scott is a prominent technology journalist and reviewer, specializing in tablet devices. He is known for his comprehensive and unbiased reviews of tablets from various manufacturers.
With a deep understanding of tablet technology, including hardware components, operating systems, and software applications, Scott provides clear and informative reviews accessible to readers of all levels of technical expertise.
His attention to detail and in-depth analysis have earned him a loyal following of readers.